Parts Implemented by Mert Şeker
Teams
All team data is kept in database. A front page to change or represent this data is used. First page is on /teams route and it represents the data in the database in a simple and understandable way and provides some functionality.

As it can be seen in the above figure, data is divided into 2 columns; team name, team’s coach.
Second page is for both displaying and editing the data for teams and it is on the /manager/teams route and only users that have authority can access this page. In this manager page, all data is shown in data table structure. Even though the team id column is not shown on the front page, it is shown here.
On the top left side of the screen you can select how many entities are shown in a single page. You can search for a team by using the search bar on the top right side of the screen. You can sort all tuples by clicking on a column with respect to the clicked column.
The three buttons at the bottom of the page are buttons for add, update and delete operations.
Add Operation
By clicking the “Add New Data” button on the bottom of the page, a modal shows up prompting data for new record.
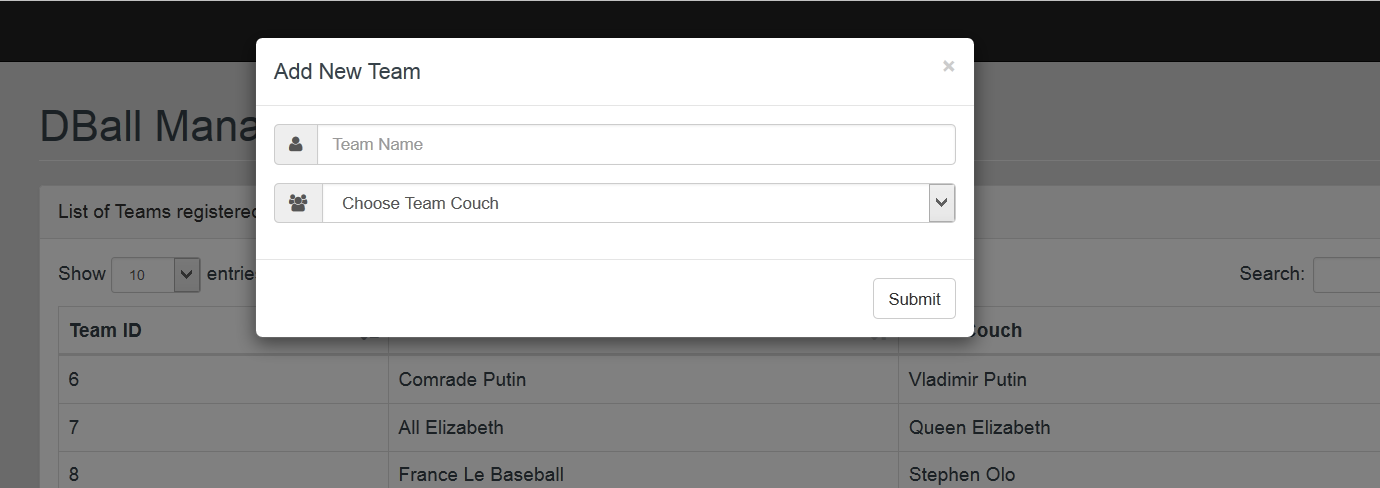
Team Add Screen
First box is a textbox for entering the team name. Second box is a drop down menu to choose a team coach; it is only possible to choose a person that have the person type as coach. None of these fields can be null. After entering the data to the fields and clicking the “Submit” button, if there are no problems in the back end, new team data will be added to the database and it can be seen in the front and manager pages.
Update Operation
Clicking on a row will select that team and clicking the “Update Selected Data” button will show up the update screen if only one row have been selected. If more than one row have been selected, an error message will be shown on the screen.
After user selects one row and clicks the update button a modal will show up for updating the team data.
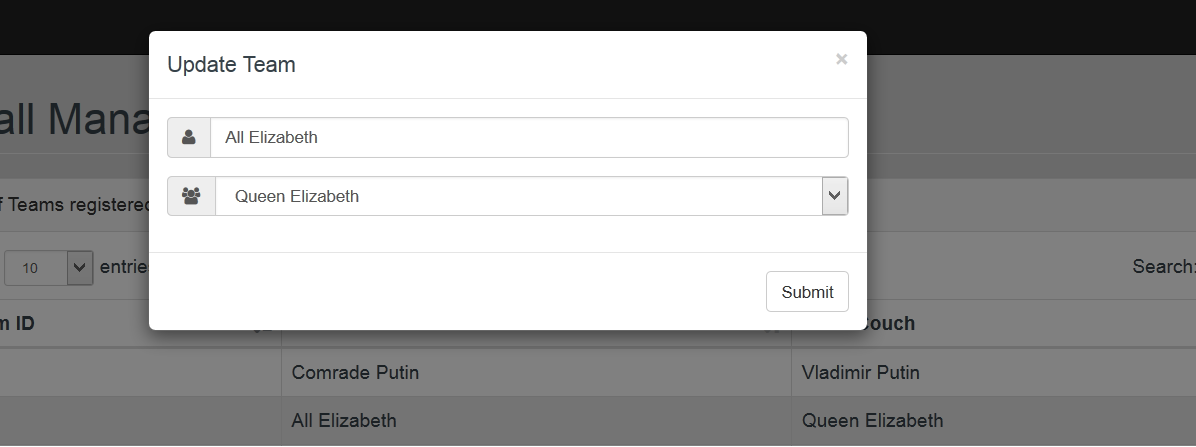
Team Update Screen
After user enters the new data in the fields and submits the form , selected team will be updated accordingly. After the update operation is successful, all references to the previous data will also be changed by the new data.
Delete Operation
By clicking the “Delete Selected Row(s)” button user can can select one or more teams. After the user have selected the rows, clicking the button will delete all the chosen rows from the team table.

Team Delete
Players
All player data is kept in database. A front page to change or represent this data is used. First page is on /players route and it represents the data in the database in a simple and understandable way and provides some functionality.

As it can be seen in the above figure, data is divided into 3 columns; player name, player’s team and number of goals that the player have scored.
Second page is for both displaying and editing the data for players and it is on the /manager/players route and only users that have authority can access this page. In this manager page, all data is shown in data table structure. Even though the player id column is not shown on the front page, it is shown here.
On the top left side of the screen you can select how many entities are shown in a single page. You can search for a player by using the search bar on the top right side of the screen. You can sort all tuples by clicking on a column with respect to the clicked column.
The three buttons at the bottom of the page are buttons for add, update and delete operations.
Add Operation
By clicking the “Add New Data” button on the bottom of the page, a modal shows up prompting data for new record.
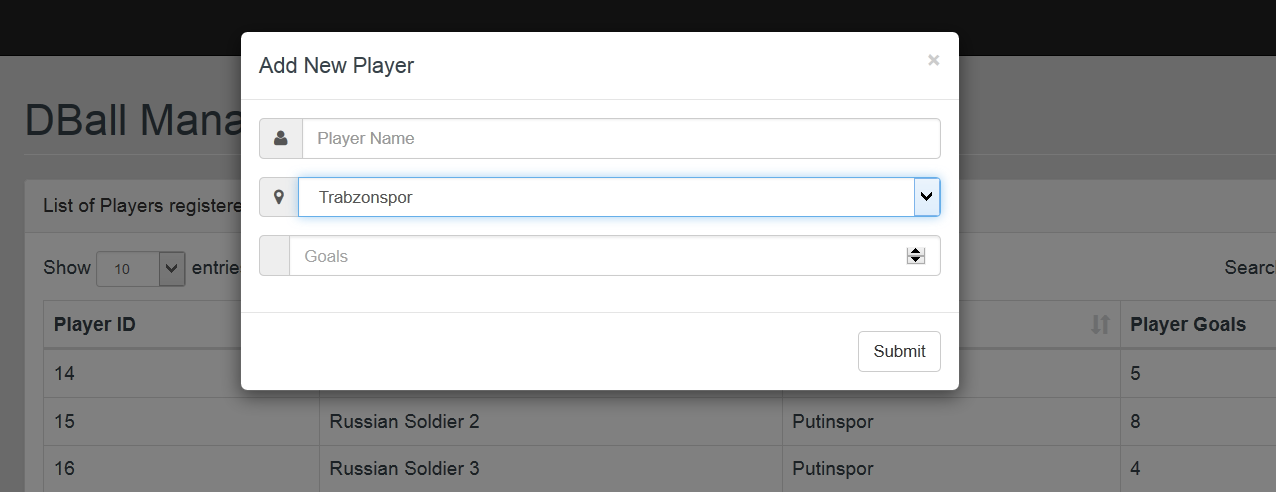
Player Add Screen
First box is a textbox for entering the player’s name. Second box is a drop down menu to choose the player’s team; it is only possible to choose a team from the teams table. Third box is for entering the number of goals that the player have scored and it is entered as integer. None of these fields can be null. After entering the data to the fields and clicking the “Submit” button, if there are no problems in the back end, new player data will be added to the database and it can be seen in the front and manager pages.
Update Operation
Clicking on a row will select that team and clicking the “Update Selected Data” button will show up the update screen if only one row have been selected. If more than one row have been selected, an error message will be shown on the screen.
After user selects one row and clicks the update button a modal will show up for updating the player data.
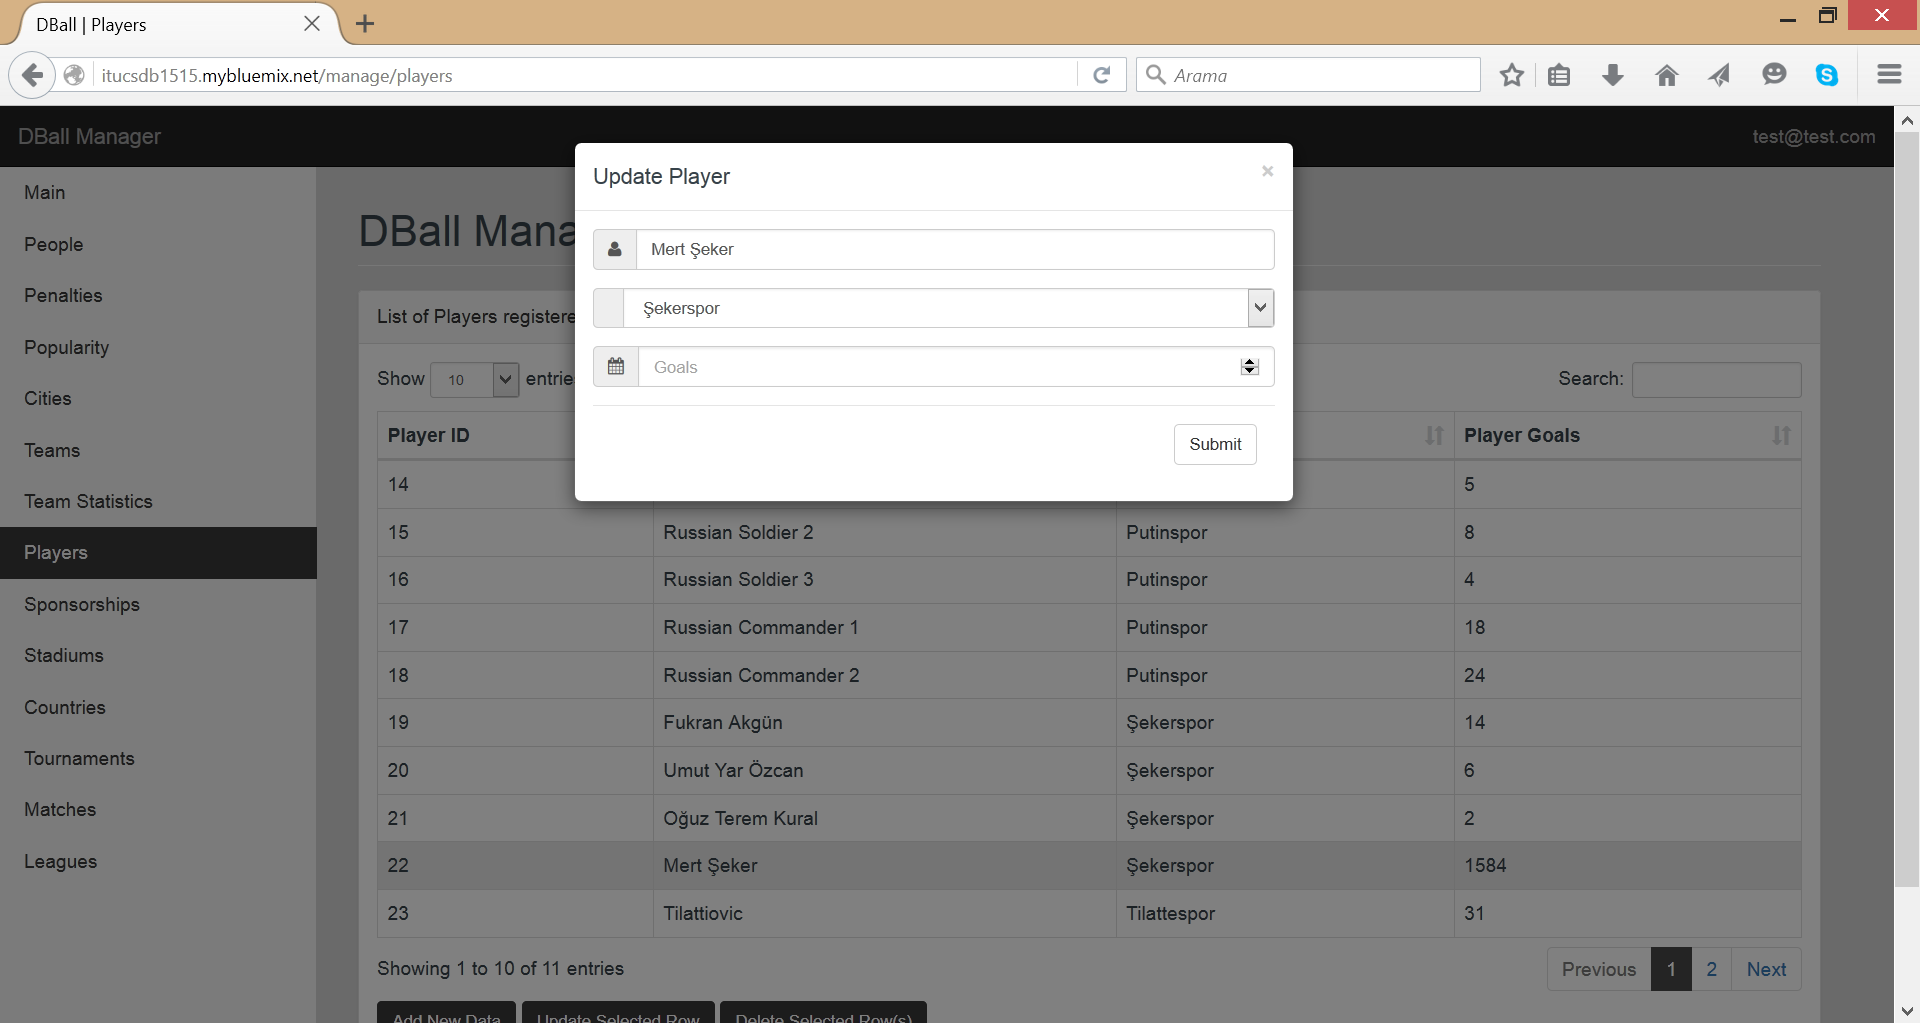
Player Update Screen
After user enters the new data in the fields and submits the form , selected player will be updated accordingly. After the update operation is successful, all references to the previous data will also be changed by the new data.
Delete Operation
By clicking the “Delete Selected Row(s)” button user can can select one or more players. After the user have selected the rows, clicking the button will delete all the chosen rows from the player table.

Player Delete
Tournaments
All tournament data is kept in database. A front page to change or represent this data is used. First page is on /tournaments route and it represents the data in the database in a simple and understandable way and provides some functionality.

As it can be seen in the above figure, data is divided into 6 columns; tournament name, number of matches, start date, end date, country and prize.
Second page is for both displaying and editing the data for tournaments and it is on the /manager/tournaments route and only users that have authority can access this page. In this manager page, all data is shown in data table structure. Even though the tournament id column is not shown on the front page, it is shown here.
On the top left side of the screen you can select how many entities are shown in a single page. You can search for a tournament by using the search bar on the top right side of the screen. You can sort all tuples by clicking on a column with respect to the clicked column.
The three buttons at the bottom of the page are buttons for add, update and delete operations.
Add Operation
By clicking the “Add New Data” button on the bottom of the page, a modal shows up prompting data for new record.
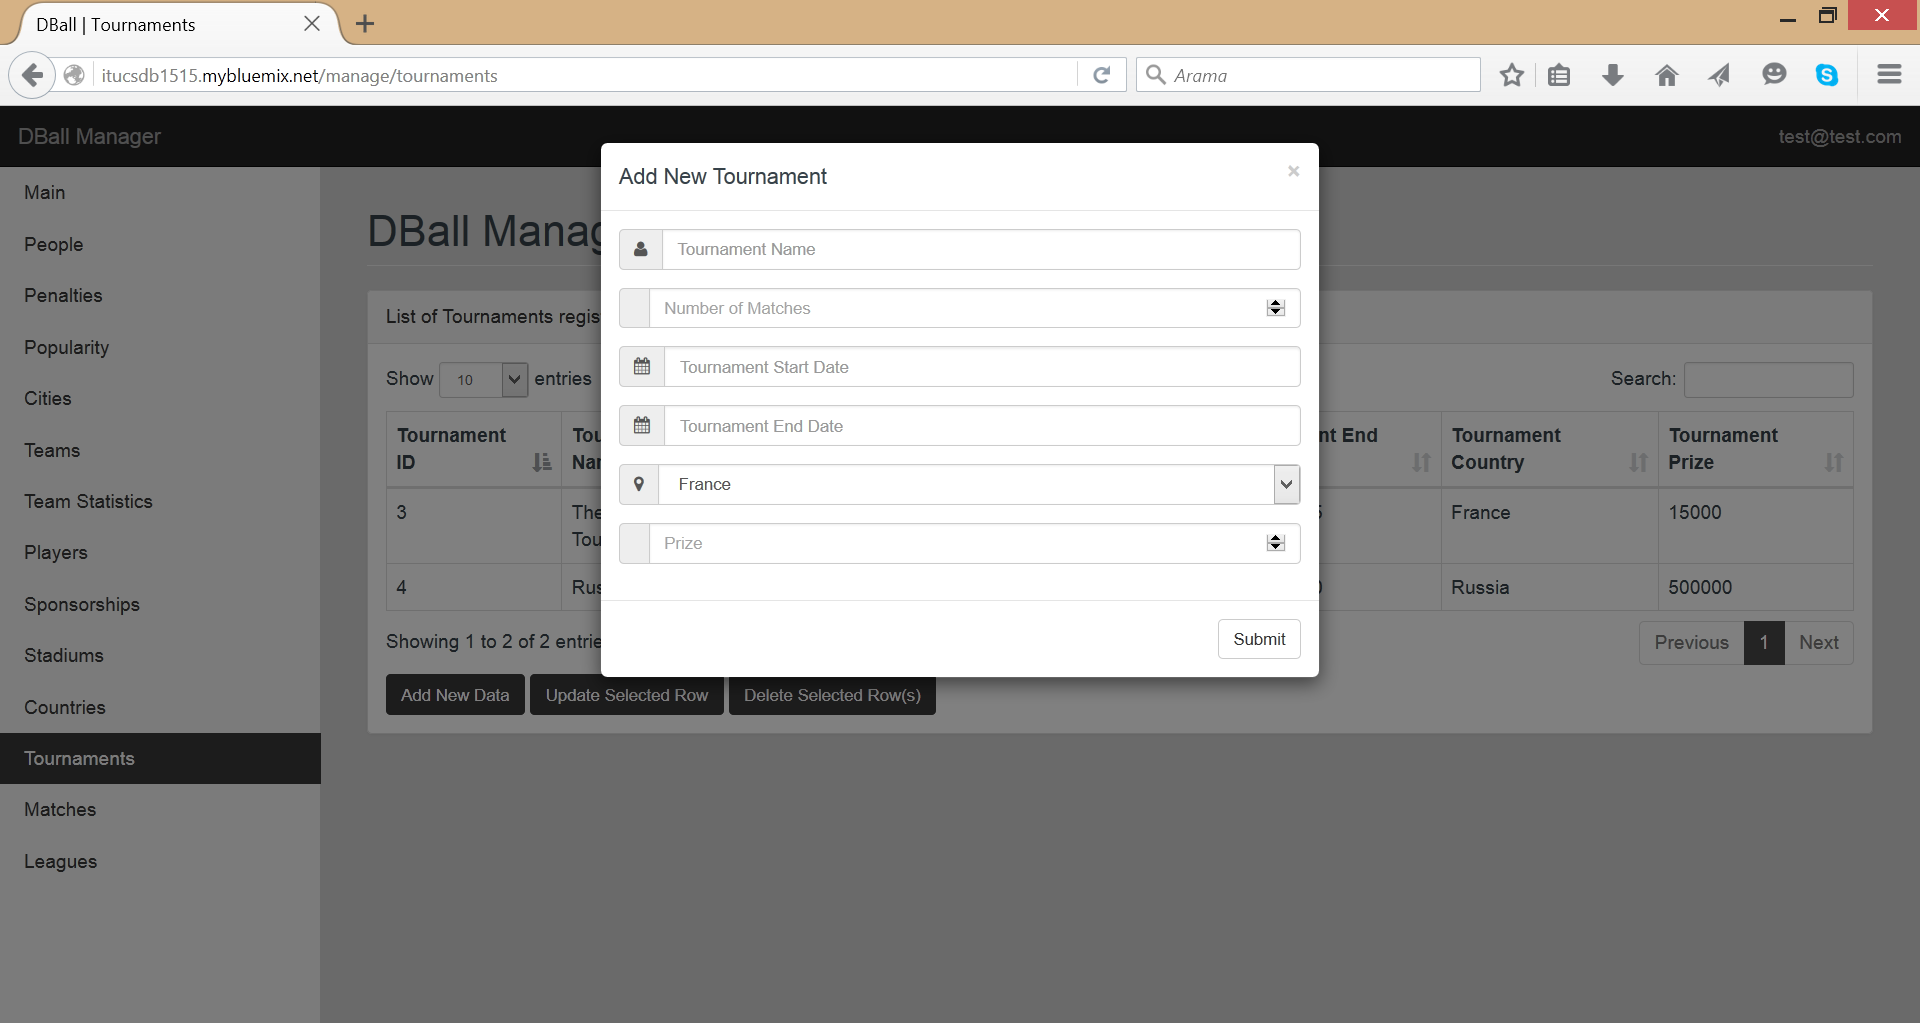
Tournament Add Screen
First box is a textbox for entering the tournament’s name. Second box is for entering the number of matches. Third box is for entering the start date. Fourth box is for entering the end date. Fifth box is for choosing a country from the countries table, it is also possible to see the country’s location on the map by clicking the pin icon next to it. Sixth box is for entering the prize that will be given to the winner.None of these fields can be null. After entering the data to the fields and clicking the “Submit” button, if there are no problems in the back end, new tournament data will be added to the database and it can be seen in the front and manager pages.
Update Operation
Clicking on a row will select that team and clicking the “Update Selected Data” button will show up the update screen if only one row have been selected. If more than one row have been selected, an error message will be shown on the screen.
After user selects one row and clicks the update button a modal will show up for updating the tournament data.
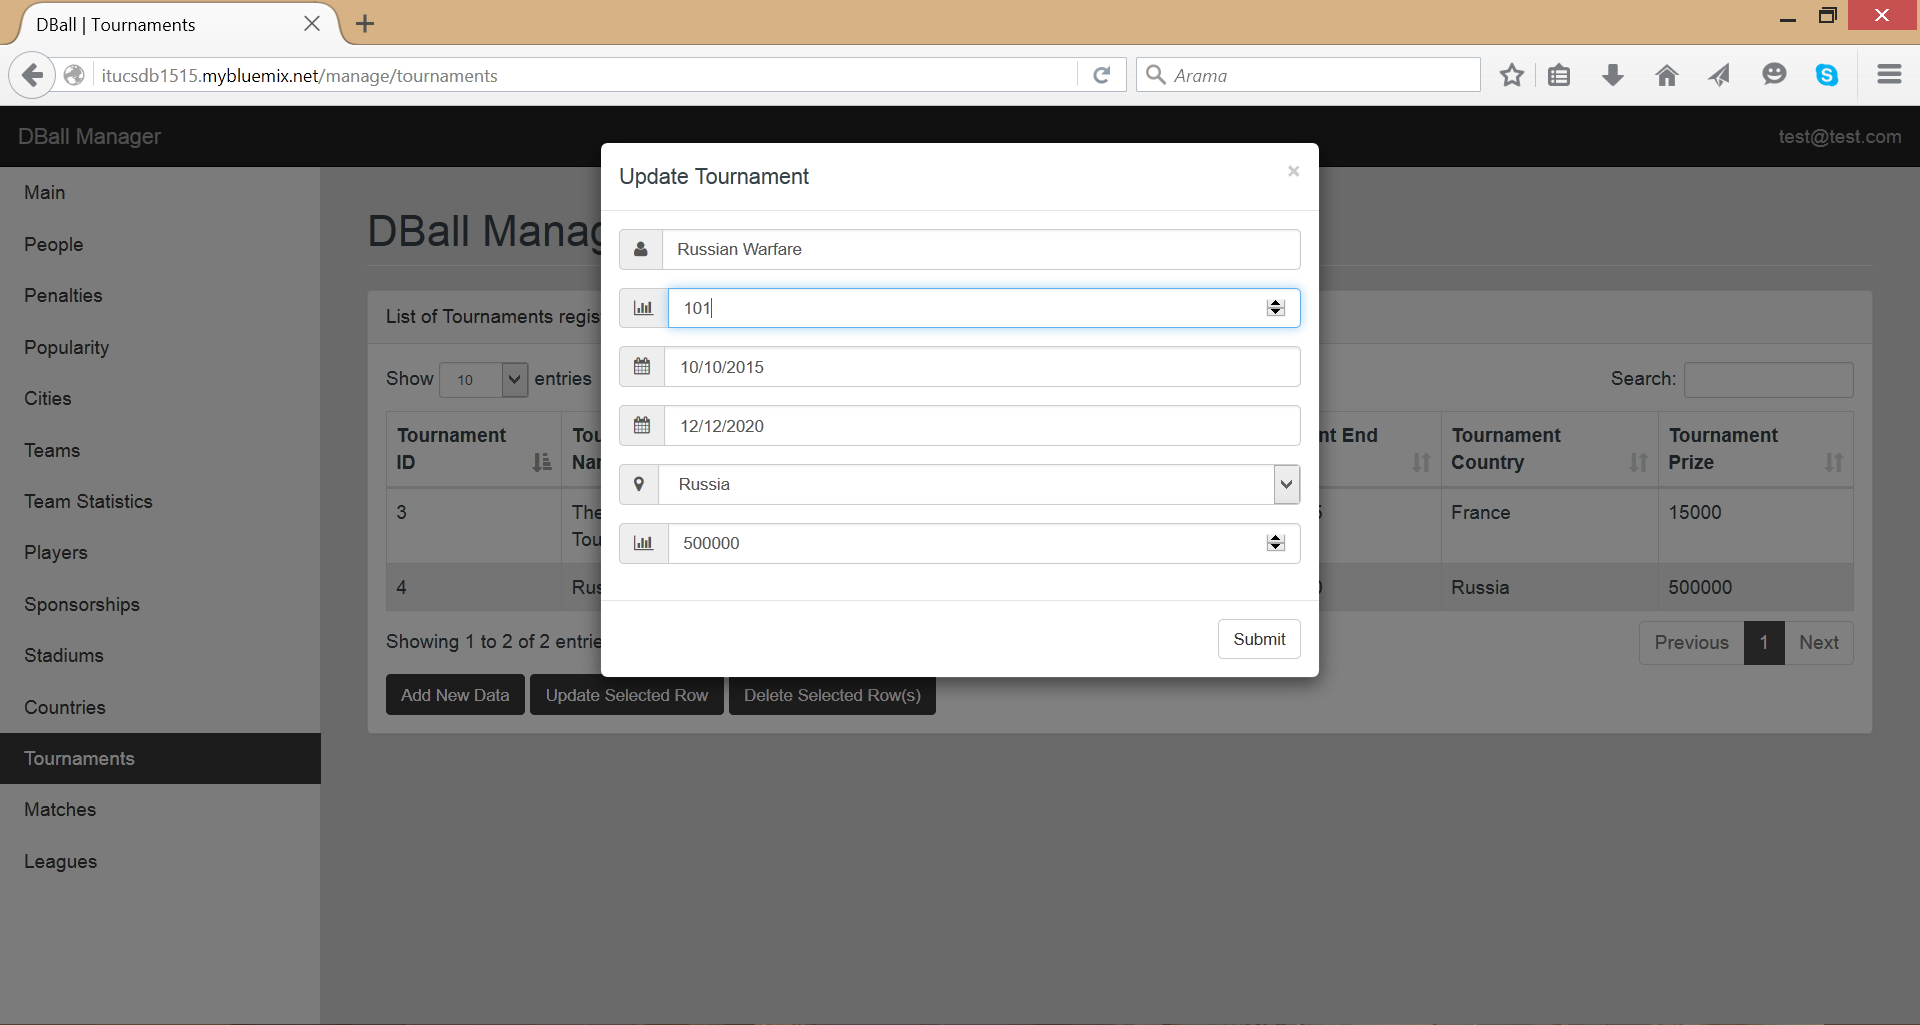
Tournament Update Screen
After user enters the new data in the fields and submits the form , selected tournament will be updated accordingly. After the update operation is successful, all references to the previous data will also be changed by the new data.
Delete Operation
By clicking the “Delete Selected Row(s)” button user can can select one or more tournaments. After the user have selected the rows, clicking the button will delete all the chosen rows from the tournament table.

Tournament Delete